Showing posts with label Custom. Show all posts

Thursday, May 28, 2015

GeekSummit's ULTIMATE Sonic Screwdriver Prop Toy

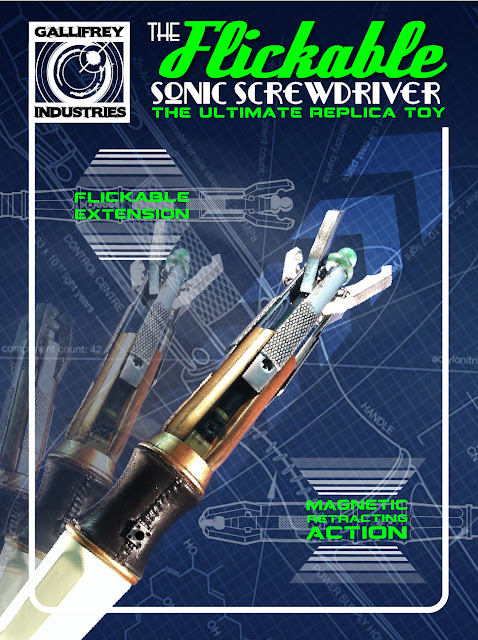
Well, its been a little over a year since I thought I had perfected the Flickable Sonic Screwdriver. As time went on Character Options (Underground Toys) continued to release change after change to the design but still never finished giving us the ULTIMATE version of this prop replica toy. With ugly battery compartments and other goofy options that didn't really add anything to the toy, I was left hurting for the final revision before this Doctor adopts some new model all together. I love this model for its weird steampunk sensibility and refined look, but to keep giving us the same toy over and over again with no real advancement has been a disappointment.

I have done a small run of these Gallifrey Industries models for cosplayers and collectors alike and I think you'll like what you see.

https://www.youtube.com/watch?v=CgwM7yll2mM


 http://www.ebay.com/sch/geeksummit/m.html?_nkw=&_armrs=1&_ipg=&_from= 

http://www.ebay.com/sch/geeksummit/m.html?_nkw=&_armrs=1&_ipg=&_from=
  
http://www.ebay.com/sch/geeksummit/m.html?_nkw=&_armrs=1&_ipg=&_from=

http://www.ebay.com/sch/geeksummit/m.html?_nkw=&_armrs=1&_ipg=&_from=

http://www.ebay.com/sch/geeksummit/m.html?_nkw=&_armrs=1&_ipg=&_from=


As listed above this model features several upgrades that REALLY bring this toy up to near prop replica status while still maintaining lights & sounds.

• Rubberized Control Panel allows central operation of light & sounds in opened and closed positions
• Hidden activator allows operation of light & sound in closed position
• Tactile switch gives a touch of authenticity while also operating light & sound in opened position
• "Marbelized" emitter tip mutes the LED light to a nice bright glow
• Magnetic retractors release claws when flicked for authentic action
• Magnetic retractors pull sonic tightly closed for a nice tight presentation.
• Optional weathered finish gives the piece a nice touch of "History"



Tuesday, July 15, 2014

CHRISTMAS IN JULY!!!!

Merry Christmas!!!

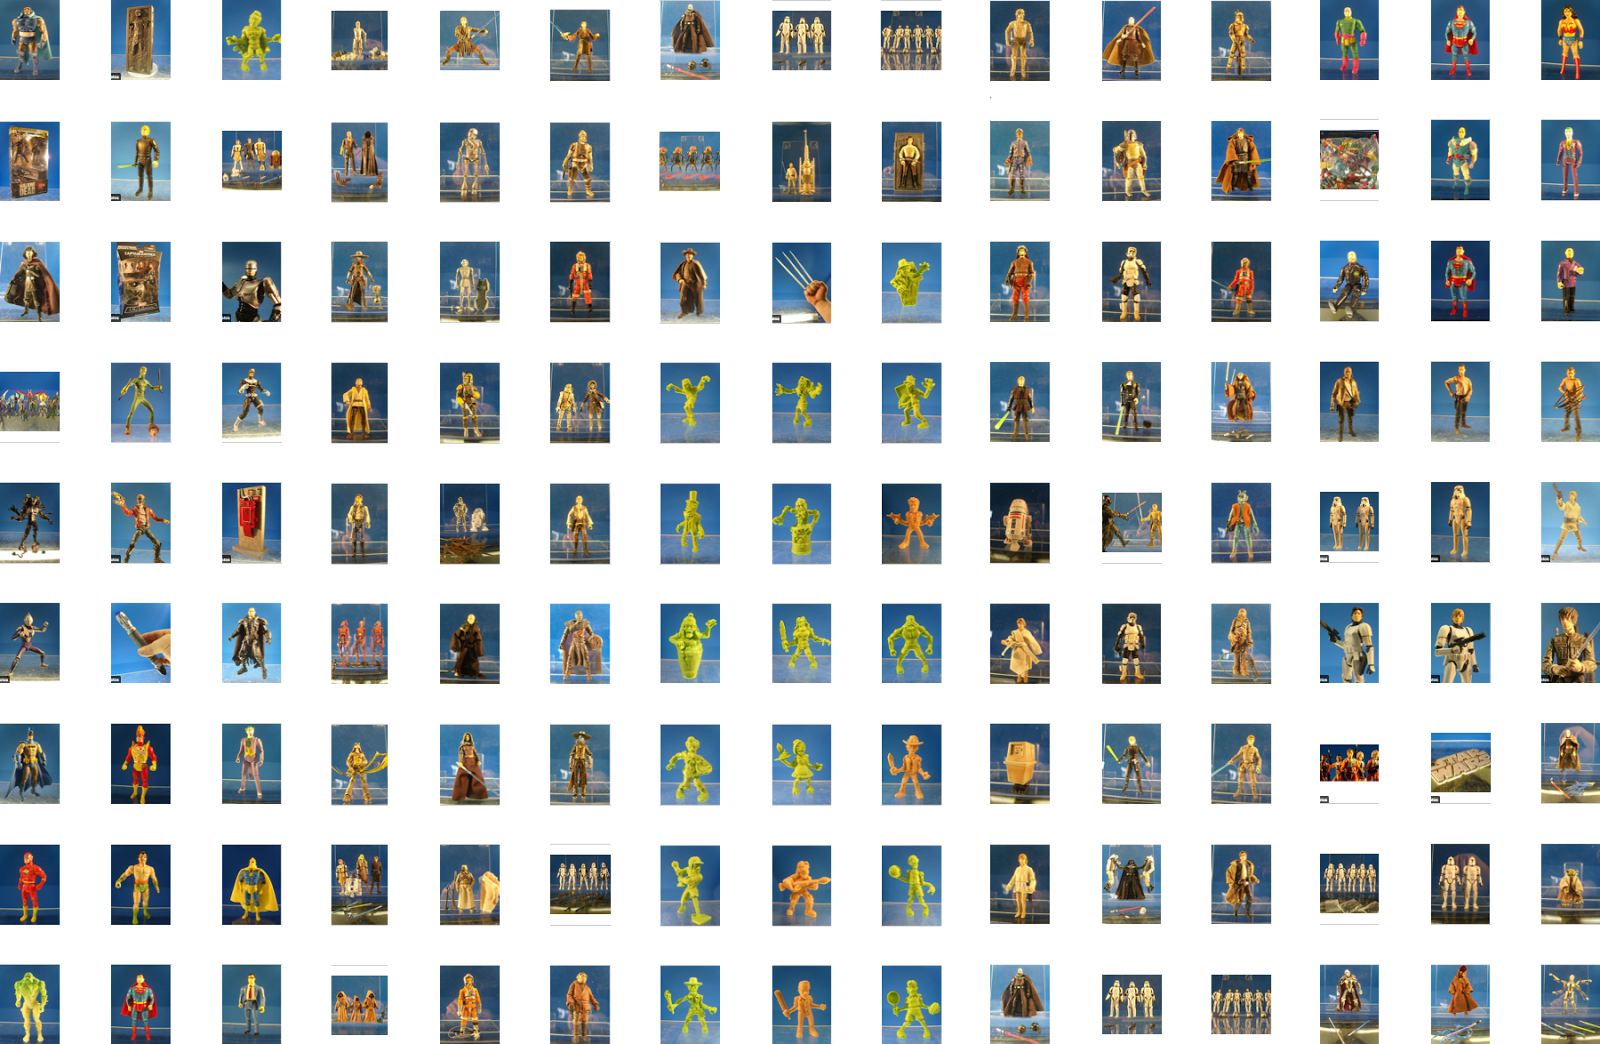
We're blowing out tons of Action Figures and Customs!!!

BRING A BUCKET!!!

Click the image below to go to the auction gallery!!!

http://www.ebay.com/sch/geeksummit/m.html?_nkw=&_armrs=1&_ipg=&_from=

Star Wars, Super Powers, DC Universe, Marvel Legends, Walking Dead, Dr Who, Play Arts...
We've got a a little bit of everything. With 150+ items currently listed, we're looking to take the tally to 400+ items this week or until our fingers fall off!!!

Thursday, May 8, 2014

Superman Celebration 2014 • Metropolis, Illinois


Free T-Shirt Transfer Downloads From GeekSummit!!!

It's that time of year again!
Time for roadtrips and souvineers and speeding tickets across this great nation of ours. Its also time to share this years free t-shirt downloads!! It's been a busy year for me with a new son who arrived just last week so I havent really dug in as I have in previous years but here we are, just in time for the celebration once again!!

Downlaoding is simple, just thumb through the gallery and when you find the selection you like just right click to open in a new window and download directly using Save As or just drag and drop to your desktop!!


2014's Latest Editions


Man of Steel Related


OldSchoolery


Metropolis, Il


Thursday, January 16, 2014

The Flickable 11th Doctor's Sonic Screwdriver

Doctor Who 11th Doctor Sonic Screwdriver customized by GeekSummit


So a day late and a Doctor short as per usual I have found myself tinkering with the 11th Doctor's Sonic Screwdriver. Its an awesome model with its multi sourced hilt and different textures coming together to make this wacky futurific Sci-Fi plaything. I've found myself hooked on the show over the last year and am current from Russell T. Davies all the way trough the current Steven Moffat run. So now at the end of Matt Smith's run as The Doctor I find myself totally absorbed with this model of Sonic Screwdriver. I'm sure we'll see a new version as the series returns with Peter Capaldi but in the meantime I've found myself seeking to correct all that is wrong with the current toy. And really for what it is its a great model. It just lacks a few steps in planning that could have made it awesome.

The main gripe everyone takes notice of is the placement of the hidden red button under the hatch which as a stock model is the only practical way to activate the light and sound in the extended position. You can squeeze your finger between the spokes of the brass column but you really have to have a fine pointed finger. This was amongst the first things I set out to correct right off the bat. In doing that I went ahead and removed the primary button as well and created one all service button that activates in both the retracted and extended position. It also blends into the "leather" sleeve very nicely and is pretty reliable unless it gets really cold. (It's a rubbery substance but can get very hard in extreme cold).

Secondarily is the action of extending the claws. In the show it seems much more often that the claws are extended by a flicking of the screwdriver as opposed to a switch-blade type of extension. This takes a little more courage and patience to correct. with the screwdriver dis-assembled into its 2 main parts, the spring loaded mechanism and its inner collar are completely removed so the claws to extend prematurely. It also can complicate the extended light & sound activator.

Lastly for fun I went ahead and mocked up packaging. I had gone for a tweed and pinstripe look at first but found it to be a little quaint and not quite my style. This streamlined version seems to do a nice trick.

Doctor Who 11th Doctor Sonic Screwdriver customized by GeekSummit


Monday, August 12, 2013

Star Wars Black Series

Custom 6" Stormtrooper

I simply couldn't wait for Series 3 to come around in retail near Christmas, but picking this guy up last Thursday was a huge treat right off my wishlist!! I immediately took him out of the box and examined him in his stock glory with his multiple blasters and backpack and filthy weathered paint and within minutes I was on the road to pruning this guy down to basics...

Star Wars Black Series Stormtrooper Custom by GeekSummit
 The Standard Bright White Stormtrooper

Ever since I was a kid the Stormtrooper was the one action figure that always stood out... Maybe simply out of contrast to all the other brightly colored toys of the day? Maybe because anytime there is more than one there is an army? Maybe because they are the coolest looking Star Wars character of all characters? All of these are right... My heart has never led me wrong.

To rekindle that old flame for my favorite plastic counterpart in his new format, I picked up a Sandtrooper at Target for $19.99 and brought him home immediately to wash away the filth of his off base outpost.

Star Wars Black Series Stormtrooper Custom by GeekSummit

Don't get me wrong... Sandtroopers are troopers too but you really just can't beat a bright white stormtrooper. Unless you're Luke Skywalker & Han Solo in Stormtrooper disguise... then technically you can mop up a whole space station full of 'em... I make that one concession.

Star Wars Black Series Stormtrooper Custom by GeekSummit

Star Wars Black Series Stormtrooper Custom by GeekSummitStar Wars Black Series Stormtrooper Custom by GeekSummit

Star Wars Black Series Stormtrooper Custom by GeekSummitStar Wars Black Series Stormtrooper Custom by GeekSummit


Monday, April 1, 2013

Superman Celebration 2013 | T-Shirt Downloads!!

Designs by GeekSummit

Its that time of year again. With 2 months left to go I'm hitting the ground running with this year's FREE t-shirt downloads!!!

As time goes by more designs may be added but for now I bless you with the gifts of:

Metropolis Ilinois Superman Celebration 2013 Shirt Design
"Who's Your Daddy"

Metropolis Ilinois Superman Celebration 2013 Shirt Design GeekSummit Man of Steel Henry Cavill 75th Birthday June 2013 1938

"Metropolis • 2013"

Be sure and look back at our SuperRelevant 2012 designs

Friday, March 8, 2013

Custom Lightsaber Hilts from Childhood Archives

I was going through some stuff from my parents' attic and ran across a rolled up paper grocery sack full of these old guys. They were probably made 20 years ago. I guess I was about 12-14 when I did these using the Star Wars Technical Journals back in the 90's. They were made using PVC pipe, window hardware, bicycle parts and random junk parts. These 3 were some of the later versions. The rest of the bag seemed like desperate attempts to really stretch and experiment with materials.. I think one is even made with a length of diesel hose. I'll have to round up the rest for being adorably ugly.


This one is the pride of the find though for sure. It was my Luke Skywalker (Anakin) saber from ANH and ESB. The box on the side is made with a bicycle break pad (switched out for the cleaner one in the final picture. The grips are just sliced plumbing insulation. Sliced off a dowel to fill the bottom end and attached a small D-Ring with woodscrews. 


I remember when I made these that the trick for these buttons on the bottom had an AWESOME effect I had a screw cap with a gripped edge pinning a dimensional washer conforming it to the pipe's shape. This gave an AWESOME mirrored effect on the inside of the washer that I really remember being very proud of, but unfortunately the dulled silver paint now just kinda sits there and doesnt really pop anymore.


With the cleaner clearer bicycle break pad added.


The rest of the sad sack… good enough for parts… thats about it though.


Sunday, March 3, 2013

Legacy Millenium Falcon | Expanded Edition

I happened across a half pallet of these the first time they sold and clearanced. It was quite a find since I wanted to wait until the prices dropped on these. Apparently price as well as size kept a lot of these out of collector hands in their first incarnation.

So on to the business. A long time ago I took this model and dusted it in black an accented some areas that needed some life. I never thought I'd get back around to my full intentions but yesterday I ran the entire trilogy through the old Xbox and got cracking.

First I completely disassembled the falcon into top bottom and interior... Bye Bye electronics... You will be missed. I took all the interior pieces and gave then a deep black wash. Then I got to trimming out pieces. This was such a huge playset but you really only had half of the interior to interact with. I wanted to remedy this to justify the size of this beast. So with only my exacto I started to score away at these obstructions. One being the door to the cockpit as well as the corridor entry. I adds padding with this thick rubbery adhesive rubber sheeting and sliced into panels on location. I blacked out the inner walls of the cockpit while I applied decals. (Stickers loose their glue when they sit in a box in the garage for 5 years) and I found the wet paint to be a good substitute for the missing adhesive.


Then I went beyond the sick bay doors and knocked that wall out as well. The compartment that housed the escape pod was a molded non functioning door so I scored it through as well to remove if but then I had another wall... So I continued to score away at it. With access to both sides relieved I now had this empty space with just the inner shell showing. I took a Jedi council floor panel and grafted it onto the existing platforms and painted it over for an approximate match. I still had some empty space and figured I would make this the engine room. With fodder parts and other Star Wars accessories I started to fill in with "machinery" to give this new space purpose. So now I have a completed interior with new detailing and added space! I also removed the single turret gun seat in the middle and replaced it with a ladder (not pictured).


The outside was worked over with several layers of massive wet wash and dry brush. Once all the pieces had been treated I reassembled it and continued to detail the landing gear and artillery in black & oily steel.

The circle is now complete!!!


Saturday, February 16, 2013

Class II Slave I | Boba Fett Style


So I was strolling through Target this week and just happened to get there on stock day. I look down and there's Jango Fett's Slave I sitting right on the front of the shelf. Just $19.99 but wow the box was tiny!! I knew I had to be dealing with an abbreviated version but wow this box was tiny and light too. I expected at least for this to be the size of the Target Exclusive a few years back but still I didn't know HOW it would fit in this box. Anyway enough about the box… it's small.


GeekSummit Class II BobaFett Slave Repaint Custom Vintage Trilogy Star Ship Han Solo in Carbonite
Before Blackwash
After BlackWash


So since I'm not a prequel guy I decided to give this hunk'a'plastic a makeover, or a work over since we are aging it about 30 years. The bottom "bell" of the Slave I is one piece along with the shoulders that host the rutters so I took just the bell and sprayed it with a Rustoleum Brown Boots satin finish. It proved a little glossy so I went back over with a matte finish. For the shoulders, bumper and loading dock I mixed up a green and then dirtied it with black and mixed it again. So now I have made this Slave I "NEW" with this alternate paint scheme, it's time to knock a few years into it.

I mixed up a darker gray to match the bit on the tailfin and went to replace a few panels along the top of the body and front. I used my Target Exclusive as a general reference but the panels were split up a little different so there was some liberties taken. For the more weathered panels I took my flat brush in between coats on the solid panels and I just ran it from the seams inward with lifting strokes as drybrush. That left just that slight bit of color creating a weathered metal.

Finishing off I mixed a little light gray to match the original body color and went back to work on the bell again. I used my broad strokes to wear down the very edges of the bell and then drybrushed in my weathering using the same method as I did on the upper body. Start in the seams and brush inward with lifting strokes.

There we are. The Mandalorian Manhunter is ready for duty. That's it really. I just wanted to post this up.

UPDATE: After about a week of admiring this piece I did come back with a blackwash (mostly water) and it really brought some scale to the ship. Gave it a nicely weathered look that it was still surprisingly missing.

• Before Blackwash •

GeekSummit Class II BobaFett Slave Repaint Custom Vintage Trilogy Star Ship Han Solo in CarboniteGeekSummit Class II BobaFett Slave Repaint Custom Vintage Trilogy Star Ship Han Solo in Carbonite


GeekSummit Class II BobaFett Slave Repaint Custom Vintage Trilogy Star Ship Han Solo in CarboniteGeekSummit Class II BobaFett Slave Repaint Custom Vintage Trilogy Star Ship Han Solo in Carbonite

• With Blackwash •